Selecting the Best Decoration Method for Fabric Goods
Decorating fabric requires matching your design to the physical behavior of textiles, weave tightness, and everyday garment wear. Screen printing pushes liquid ink through woven mesh stencils directly into cotton fibers, which works well for large, flat graphics on lightweight tees. Embroidery replaces liquid pigment entirely with colored polyester or rayon threads stitched mechanically through the material, creating raised texture, light reflection, and long-term resilience against industrial laundry cycles.
When projects involve thick outer layers, heavy twill, or uneven surfaces like mesh-back headwear, standard flat printing equipment often struggles to maintain crisp edges. In these scenarios, shops either place the garment on dedicated cap framing cylinders or construct standalone woven emblems that can be secured later. Knowing whether your logo demands fine threadwork, flat screen ink, or a separate badge dictates your setup costs, turnaround schedule, and final durability.
Small businesses outfitting teams often balance apparel alongside other physical branding assets, such as coordinating employee uniforms with vehicle wrap printing and installation for fleet service vans. Evaluating fabric weight, wash frequency, and decorative surface area early prevents premature fraying, puckering around dense stitches, or peeling graphics after a few dozen standard laundry cycles.
Understanding Digitizing and Thread Mechanics in Custom Embroidery
Mechanical stitching machines cannot read standard graphic files like JPEGs or vector outlines without an intermediate translation step known as digitizing. A digitizer maps out every individual needle penetration, stitch angle, travel path, underlay foundation, and density setting into machine-readable code. Poor digitizing causes needle deflection, bunching thread nests on the underside of garments, and visible fabric pulling that distorts surrounding lettering.
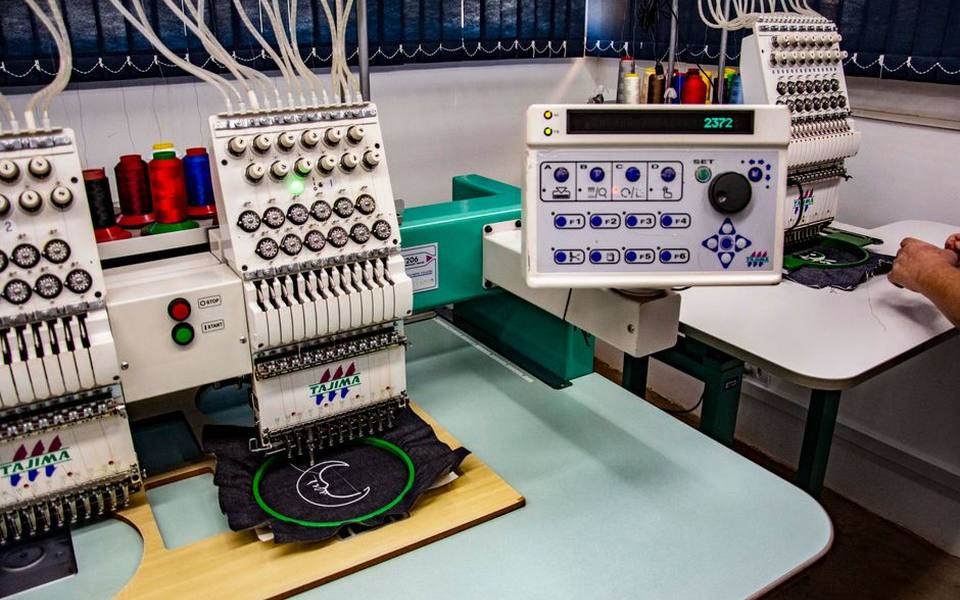
Thread thickness is standardly measured as 40-weight, which means tiny typography below three-sixteenths of an inch often fills in or loses legibility during production. Digitizers compensate by manipulating pull compensation, slightly fattening thin serif letters, and choosing satin stitches for clean borders or fill stitches for broad background shapes. Underlay stitching is laid down first onto a stabilizing backing to anchor the cloth before visible top stitches run across the surface.
Commercial multi-head embroidery equipment utilizes between ten and fifteen needles per head, each threaded with a distinct spool color from matching thread charts. While setups allow vibrant multicolors across dozens of garments simultaneously, complex custom embroideries with steep stitch counts demand substantially more run time on the machine floor, directly scaling the production cost per unit.
Structured Baseball Headwear and Crown Construction
Headwear poses unique challenges because caps are curved, tensioned three-dimensional objects rather than flat panels of fabric. Traditional customised baseball caps feature either a structured or unstructured crown, which fundamentally alters how embroidery frames hold the front panel during sewing. Structured baseball hats utilize stiff buckram backing laminated behind the two front panels, maintaining an upright, crisp profile even when the cap is taken off the head.
Unstructured dad hats lack this rigid backing, producing a relaxed, low-profile fit that molds directly to the wearer's skull. When embroidering custom baseball hats with company logo designs, structured crowns provide a firmer canvas that prevents dense stitch patterns from rippling or distorting the seam line running down the center forehead. Machine operators place curved clamps inside the sweatband to pull the crown taut over a rotating cap cylinder.
Designs wrapping across side panels or over the rear arch require separate hooping passes or specialized low-profile sewing arms. Many businesses sourcing branded headwear through regional production centers, such as print shops in California, opt for front center placements under two and a half inches tall to ensure the embroidery needle clears the visor seam without breaking needles or misaligning registration.
Customizing Mesh-Back Trucker Hats and Foam Profiles
The classic trucker hat relies on breathable plastic mesh across the rear and side quarters, paired with a distinct front panel profile. When clients decide to customize trucker hats, they typically choose between traditional five-panel foam-front styles and six-panel twill variations. Five-panel foam fronts lack a vertical center seam, offering a perfectly smooth, uninterrupted surface that accommodates broad print transfers, direct embroidery, or heat-pressed emblem badges without seam interference.
Foam front panels compress under standard embroidery presser feet, which means digitizers must program specialized underlay patterns that keep top stitches from sinking invisibly into the spongy substrate. Alternatively, five-panel customized trucker caps provide an ideal substrate for retro screen printing or direct heat transfers, delivering bold edge contrast that remains crisp across a tall crown. Foam also requires gentle handling around heat presses to avoid melting synthetic backing layers.
Six-panel trucker alternatives substitute foam with heavy cotton or poly-twill backed by breathable mesh panels, yielding a modern mid-profile silhouette popular for outdoor brands and craft trades. Because mesh sides cannot cleanly support direct stitch puncture without puckering, logos are primarily confined to the front panels, the rear fabric arch above the snapback closure, or woven clip labels along the sweatband.
Embroidered Shirts and Uniform Fabric Selection
Branded workplace apparel centers heavily on polo shirts, button-down oxfords, and light performance outerwear. Adding threadwork to lightweight piqué cotton or slippery moisture-wicking synthetic knits requires distinct stabilizer backings to keep the fabric flat. Cutaway backings remain permanently behind the design on embroidered shirts to support delicate stretch fibers over dozens of wash cycles, while tearaway stabilizers suit stiff woven twills and jackets.
Placing a corporate emblem over the left chest demands standard alignment rules, typically centering the graphic between the shirt placket and armhole seam, roughly level with the bottom placket button. When running small text on athletic synthetics, loose thread tension can produce puckering around dense letter blocks. Experienced shops test-stitch on scrap garment cuts to calibrate needle tension before committing to full production runs.
Company uniforms often see rigorous daily use, making colorfast polyester embroidery thread superior to natural rayon thread, which can fade or degrade when exposed to commercial bleach or heavy outdoor sunlight. Clean digitizing ensures that shirt fabrics maintain their natural drape without developing a stiff, bulletproof badge feeling against the wearer's chest.
Durable Sewn Patches and Edge Finish Variations
Applying decoration via standalone emblems rather than direct sewing offers significant flexibility for heavy jackets, denim vests, and workwear uniforms. Producing sewn patches begins by stitching designs onto heavy background twill or dense felt rolls loaded across broad production frames. Once the interior pattern finishes, individual emblems are excised using high-precision laser cutters or mechanical die punches that prevent edge fraying.
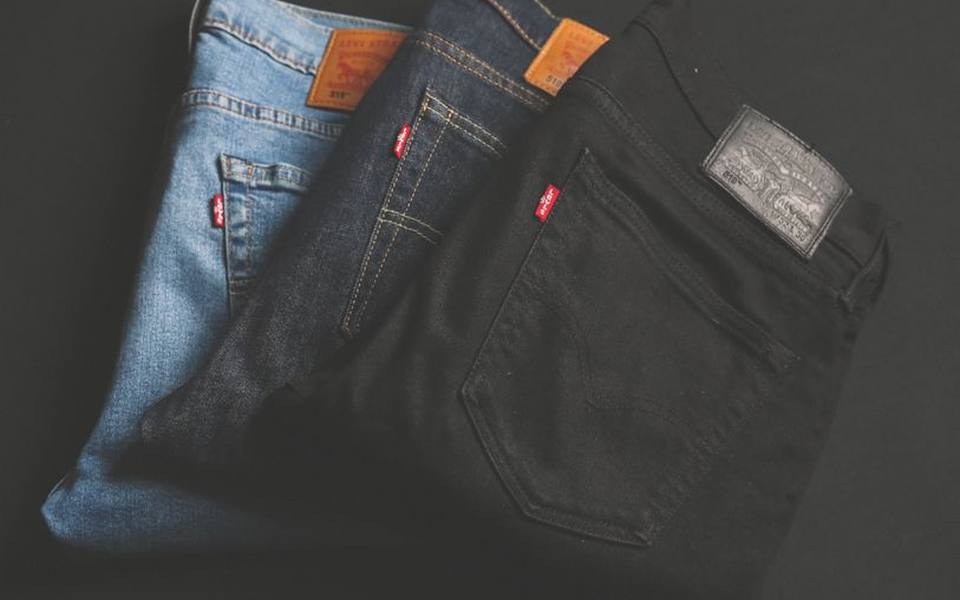
The perimeter finishing determines how cleanly an emblem can be stitched to finished apparel. A merrowed border wraps thick overlock thread completely around the outer rim of symmetrical shapes like circles, rectangles, or shields, creating a raised, protective bumper against unraveling. Complex, custom-contoured sewable patches with jagged or organic silhouettes instead use satin-stitched laser-cut edges, which melt synthetic backing threads flush with the design perimeter.
Attaching emblems directly to garments involves running a straight stitch line just inside the outer border using standard sewing equipment. Sewn patches withstand severe operational friction, industrial wash temperatures, and mechanical drying far better than direct transfers, allowing worn-out coveralls or utility vests to be retired while emblems are removed and repurposed onto fresh blanks.
Personalized Iron-On Patches and Alternative Backings
While direct stitching provides the strongest mechanical hold, personalized iron on patches offer rapid application without requiring commercial sewing machines. These badges feature a solid layer of heat-activated copolyester or polyurethane film laminated across the reverse side during manufacturing. When heated with a commercial heat press, the adhesive liquefies, soaking deep into the porous weave of cotton or denim garments before hardening upon cooling.
Applying heat-seal emblems with household hand irons requires careful pressure control, since home appliances lack the uniform heat distribution and pneumatic downward force of commercial presses. If the iron is too cool, the adhesive fails to flow into the fabric weave; if too hot, the glue boils out past the patch perimeter or damages synthetic garment blends. Typical commercial applications require steady pressure at moderate heat for ten to twenty seconds, followed by pressing from the reverse side.
Beyond thermal adhesives, shops produce badges backed with hook-and-loop hook backing for tactical vests, heavy canvas jackets, and modular gear bags. Hook-and-loop backings allow users to swap identifying emblems instantly without tools, making them common for municipal crews, emergency response teams, and seasonal service companies.
Airbrush Shirts and Hand-Painted Garment Crafting
Distinct from automated mechanical stitching and repetitive screen runs, airbrush shirts represent an individualized, artisanal branch of custom apparel decoration. Handheld pneumatic airbrushes spray finely atomized acrylic fabric paint directly onto pre-washed cotton or fleece garments, enabling smooth gradients, vibrant drop shadows, and expressive typography popular for commemorative events, street festivals, and novelty gatherings.
Because airbrushing relies on freehand stencil manipulation and manual trigger control, each garment exhibits subtle variations in density, overspray feathering, and line width. The paints used are formulated with elastic acrylic binders that stay soft to the touch rather than cracking into stiff, rubbery sheets. However, the surface must be heat-cured using a dedicated heat press or conveyor dryer to fuse pigments permanently to the cotton fibers.
Maintaining hand-painted apparel requires gentle laundering habits compared to commercial machine embroidery. Owners should wash items inside out using cool water and mild detergent, avoiding bleach and tumble drying on high heat. While modern textile paints exhibit solid wash resistance, direct friction and harsh surfactants will gradually mute hand-sprayed highlights faster than heavy-gauge embroidery thread.
Artwork Preparation and Graphic Formatting for Apparel
Submitting clean digital assets is essential to ensure fast turnarounds and accurate production across both thread and badge manufacturing. Vector artwork built in scalable formats such as AI, EPS, or cleanly mapped PDF files provides sharp outlines that digitizing programs read without jagged raster pixelation. Photographs and low-resolution JPEGs require manual redrawing by pre-press technicians, which frequently incurs hourly artwork preparation fees.
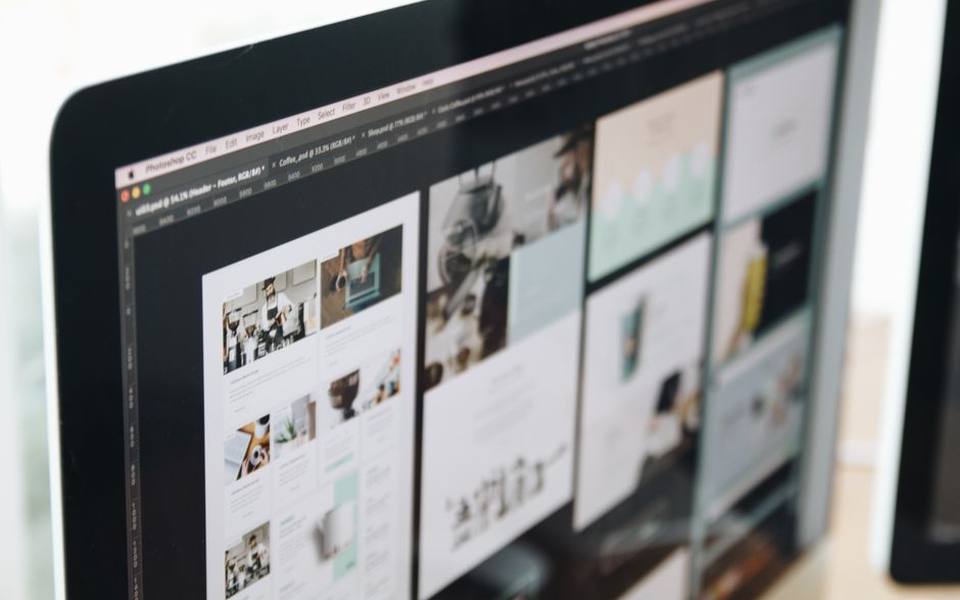
When designing customized hats with logo graphics, keeping shapes bold and uncluttered delivers the cleanest finished physical product. Intricate background textures, subtle color fades, and microscopic legal disclaimers do not translate through four-ply polyester thread. Simplifying your palette to distinct, solid spot colors allows operators to match thread cones precisely to standardized Pantone color codes.
For clients who do not possess production-ready vector files, local copy shops and regional imaging providers listed across the commercial printing directory can often scan existing physical emblems, letterheads, or paper sketches into clean, high-resolution formats suitable for apparel digitizing technicians.
Sampling, Production Timelines, and Quality Verification
Before an entire batch of custom garments runs across multi-head embroidery machines, reputable shops generate a physical proof known as a sew-out. The machine operator stitches your digitized file onto a scrap swatch of the exact garment fabric to verify thread tension, letter legibility, and underlay stability. Inspecting a high-resolution photo or in-person sew-out prevents costly errors before hundreds of blanks are pierced by needles.
Turnaround schedules depend heavily on garment availability, digitizing complexity, and shop floor capacity. Sourcing blank hats and apparel from national apparel distributors typically takes two to three business days, while digitization and machine run time can add another week depending on season. Facilities operating in high-volume manufacturing regions, such as production shops in Texas, often maintain broad stock of standard blank caps and tees to expedite rush uniform fulfillment.
When receiving your finished order, verify that backing stabilizers are neatly trimmed without snags, thread tails are clipped flush with the fabric, and registration between colors matches your approved digital proof. High-quality production exhibits flat, smooth thread coverage without loops, loose knots, or puckered ripples spreading across the surrounding garment fabric.
Published 2026-09-22 · reviewed with each rebuild, last September 2026.
Find places to print near you
The directory lists 23,804 places to print by state and city — pick your state or use the “Near me” button in the header.
More guides
-
 Service
Where to Get Passport and Visa Photos Taken: Costs and Specs
-
 Service
What Collating and Kitting Mean in Commercial Printing
-
 Service
Choosing Where to Print Your Digital Photos: Online Labs vs. Neighborhood Stores
-
 Buying
Standard Business Card Sizes, Stock Thickness, and Printing Costs
-
 Buying
Choosing the Right Custom T-Shirt Printing Method and Understanding Costs
-
 Service
A Practical Guide to Printing Digital Files, Fixing Common Output Errors, and Preparing Custom Media
-
 Buying
Understanding Sticker Cutting Styles: Die Cut, Kiss Cut, and Custom Formats
-
 Buying
How to Order Custom Canvas Prints: Materials, Sizes, and Costs
-
 Buying
Business Card Printing: Design, Templates, Finishes, and Local Vendors
-
 Buying
Custom T-Shirt Printing Guide: Screen Printing, DTG, and Ordering in Bulk
-
 Service
A Guide to Photo Printing, Passport Photos, and Custom Photo Books
-
 Buying
Digital and Physical Gift Cards: Buying, Printing, and Custom Solutions
-
 Buying
Custom Event Invitations: Graduation, Wedding, and Party Announcements
-
 Buying
Custom Canvas Prints: Framing Options, Wall Art Sizes, and Collage Design
-
 Service
Online Fax Services: Sending and Receiving Digital Faxes Without a Landline
-
 Buying
Custom Embroidered Patches, Clothing Badges, and Hat Embroidery
-
 Service
International Shipping Services: Comparing DHL, USPS, UPS, and FedEx
-
 Service
A Complete Guide to Custom Stickers, Vinyl Decals, and Die-Cut Labels
-
 Buying
Custom Drinkware and Water Bottle Printing Guide
-
 Buying
Custom Rubber Stamps and Self-Inking Stamp Guide
-
 Buying
Guide to Personalized Wrapping Paper and Custom Gift Packaging
-
 Buying
Custom Banners, Table Covers, and Trade Show Displays: Materials, Hardware, and Setup
-
 Buying
Custom Playing Cards and Deck Printing Buying Guide
-
 Service
Custom Greeting and Holiday Card Printing Guide
-
 Owning
Custom Vehicle Magnets and Bumper Stickers: Thickness, Durability, and Finish Guide