Transforming Digital Images into Canvas Wall Displays
Turning digital photographs into custom canvas wall art requires understanding how textured fabric and archival inks interact compared to conventional glossy photo paper. When you transfer an image to woven canvas, the texture softens harsh digital artifacts and diffuses ambient room lighting, which eliminates distracting glare. Whether you are enlarging a single landscape shot or organizing a series of family portraits, stretched canvas offers a finished, structural appearance that immediately feels permanent and deliberate on any wall surface.
The process begins with selecting an image file that possesses adequate pixel dimensions to stretch across large formats without degrading into visible blur. A snapshot displayed on a mobile screen might look remarkably sharp, but expanding that image across a thirty-inch wooden stretcher bar reveals imperfections in focus, camera sensor noise, and compression artifacts. Modern print labs utilize specialized inkjet equipment known as giclée printers, which spray micro-droplets of pigment ink directly into fabric fibers to maintain tonal gradations across shadows and highlights.
Choosing between an open canvas wrap and a mounted decorative frame alters the presence of the artwork within a room. Bare edges present a contemporary, minimalist profile suited for modern interiors, whereas floating frame enclosures give the impression of high-end museum presentation. Before committing your image to print, evaluating your wall space, lighting conditions, and the visual weight of your selected photograph ensures your finished project meets expectations.
Canvas Substrates and Ink Formulations
Not all canvas materials are manufactured the same way, and the textile base significantly influences the final sharpness and color depth of your print. Most commercial printing shops rely on either pure cotton duck canvas or synthetic polyester blends. Pure cotton tends to have a more pronounced, organic weave that absorbs ink deeply, producing a subtle matte finish reminiscent of traditional oil paintings, though it can react to shifts in indoor humidity over decades.
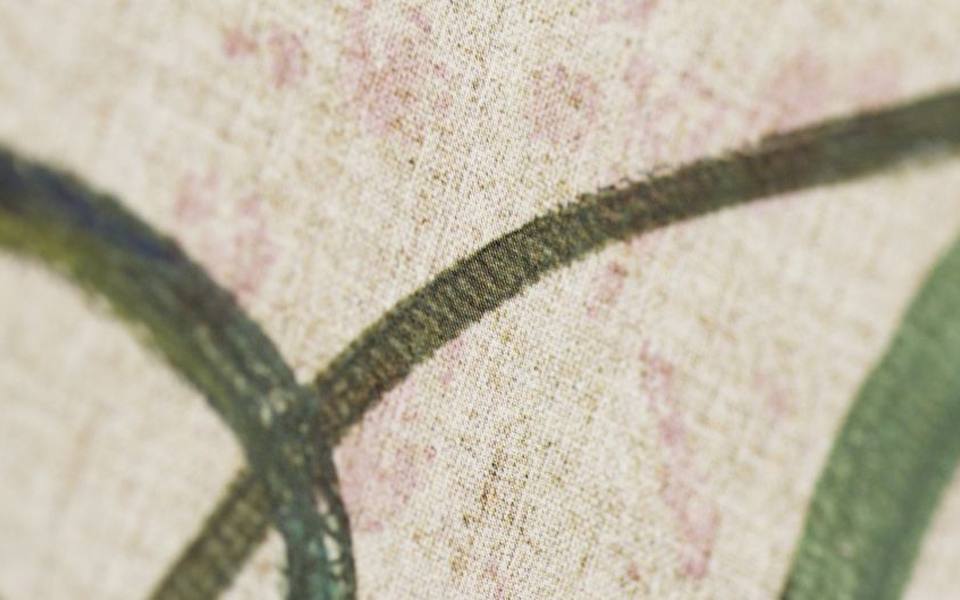
Polyester blends, often referred to as poly-cotton canvas, are widely favored by commercial photo printing labs because they maintain strict dimensional stability. The synthetic fibers resist stretching, sagging, or warping when exposed to moderate seasonal humidity shifts. Furthermore, polyester surfaces generally accept glossy or satin protective topcoats more evenly, producing vibrant, high-contrast imagery with deeper blacks and saturated primary tones, making them ideal for vivid landscape photography and graphic illustrations.
The ink chemistry applied to the fabric determines longevity and lightfastness. Dye-based inks, frequently found in entry-level consumer desktop printers, are susceptible to gradual fading if exposed to indirect sunlight. Professional shops and established regional print centers utilize archival pigment inks or UV-curable formulations designed to resist ultraviolet degradation for decades. If you have legacy prints or physical film you wish to convert to canvas, local shops specializing in document scanning services can digitize prints at optical resolutions suitable for massive canvas enlargement.
Retail Drugstore Counters Compared to Specialized Print Labs
When ordering custom canvas pictures, buyers often choose between retail chain counters and specialized online print manufacturers. Major pharmacy chains, such as Walgreens or CVS, provide rapid local turnarounds, often assembling standard stretched canvas sizes on the same afternoon you submit your digital file. For those under tight event timelines or seeking immediate holiday gifts, the convenience of walking into a neighborhood retail counter to pick up a finished project is difficult to match.
However, retail drugstore photo departments typically use standardized assembly jigs and lighter-weight wooden stretcher frames with limited profile depths, usually hovering around three-quarters of an inch. Their automated finishing software applies blanket color corrections that may occasionally alter carefully balanced color profiles. In contrast, online discount specialists like CanvasDiscount and dedicated regional fine art printmakers emphasize custom color calibration, heavy-duty timber frames, and hand-stretched tensioning that prevents sagging corners over time.
Cost structures also reflect these distinct production methods. Neighborhood retail counters carry slightly higher baseline retail prices, frequently offset by seasonal coupons and promotion codes, whereas large-scale discount online labs offer low everyday base pricing but charge additional freight fees and require several business days for ground transit. Deciding between them comes down to whether your current priority is immediate same-day convenience or bespoke craftsmanship with specialized hanging hardware.
Arranging Meaningful Photo Collages on Canvas
Combining multiple photographs onto a single canvas photo collage is a practical way to tell a visual story without cluttering your wall with individual small frames. Collages work especially well for chronicling wedding days, milestone anniversaries, or annual family vacations where no single frame captures the entire narrative. A well-constructed composite allows you to balance wide scenic shots with close-up portraits and quiet candid moments.
The key to a successful collage design is establishing visual hierarchy rather than creating a repetitive grid of identical squares. Designate one dominant anchor image that occupies roughly one-third or one-half of the canvas space, then surround it with smaller supporting images arranged harmoniously. Maintain consistent negative space between every image cell; an uneven margin of even an eighth of an inch will draw the eye and make the layout appear haphazard.
Color harmony across multiple images is equally critical when assembling composite wall art. Placing an image saturated in bright neon tones directly next to a muted sepia snapshot creates jarring visual friction. Many experienced designers apply a uniform color grading profile, gentle desaturation, or a clean monochrome black-and-white treatment across all selected photos to unify disparate lighting conditions and camera sources into a cohesive presentation.
Selecting Practical Wall Art Dimensions
Choosing the correct canvas dimensions requires measuring the wall space rather than estimating size based on an isolated computer preview. A common mistake is ordering an eight-by-ten or eleven-by-fourteen inch canvas for an expanse above a living room sofa, only to find that the print looks lost and dwarfed by surrounding empty drywall. For prominent furniture pieces, your canvas artwork should generally span roughly two-thirds to three-quarters of the total furniture width.
Standard small-to-medium canvas formats, such as 12x18 inches or 16x20 inches, work best in intimate settings like entryways, home offices, or stair landings where viewers stand within a few feet of the wall. Larger statement displays, ranging from 24x36 inches up to 30x40 inches, provide sufficient scale for primary living spaces, dining rooms, and open master bedrooms. If you are uncertain how a particular dimension will look, tape together sheets of kraft paper in the exact target size and temporarily mount them to your wall.
Multi-panel arrangements, often sold as triptychs or gallery sets, provide flexibility when a single large print proves cumbersome to transport or hang. Splitting a sweeping panoramic landscape across three distinct canvas panels introduces architectural rhythm to long hallways or high ceilings. When hanging split-panel displays, leaving two to three inches of uniform wall space between adjacent frames creates visual continuity without breaking the continuous flow of the composition.
Stretched Gallery Wraps Versus Custom Canvas Posters
Understanding the structural distinction between a stretched gallery wrap and a custom canvas poster helps clarify pricing differences and display possibilities. A traditional stretched canvas involves wrapping the printed substrate tightly around an internal wooden support frame, securing the fabric on the reverse side with heavy-duty staples. This yields a self-supporting, rigid three-dimensional object ready for direct hanging without supplementary glass or outer moulding.
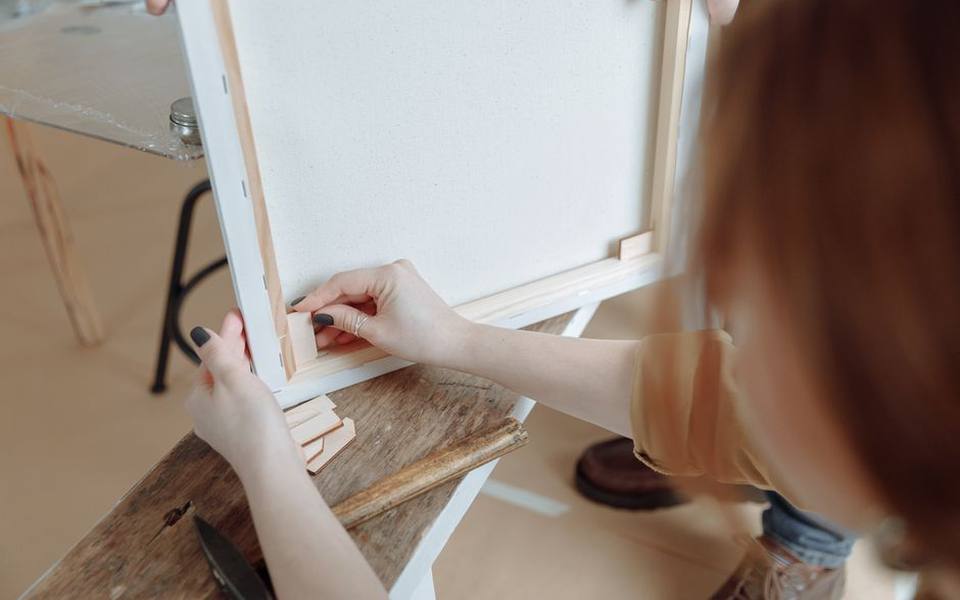
In contrast, custom canvas poster printing produces an unmounted, flexible sheet of printed canvas delivered rolled inside a protective shipping tube. Canvas posters combine the rich texture and tear-resistant durability of canvas textile with the flat handling characteristics of standard paper prints. Because they lack internal stretcher bars, canvas posters represent an economical alternative for clients who already own standard poster frames or plan to use modern magnetic wooden hanging rails.
Rolled canvas posters also provide significant shipping cost advantages for oversized projects, as lightweight tubes avoid the volumetric freight surcharges associated with bulky, boxed wooden frames. If you order unmounted prints from online outlets, you can subsequently collaborate with local frame builders in major hubs across Texas or local studios in California to mount the canvas on custom-cut solid pine bars matching your exact room specifications.
Framing Options and Floating Display Profiles
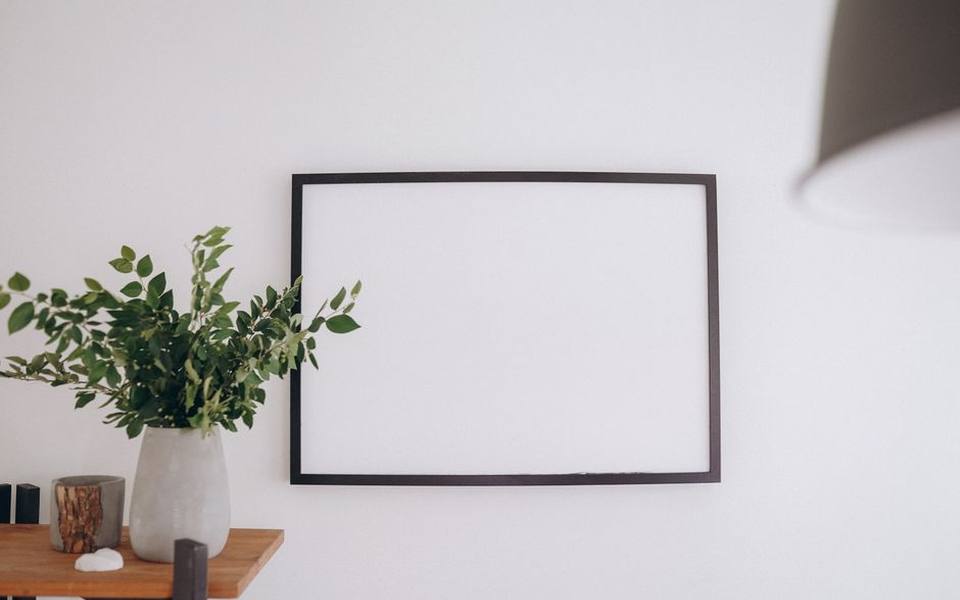
While an unframed gallery wrap provides clean edges, pairing your print with a framed canvas elevates the piece and establishes clear visual boundaries against complex wall colors or textured wallpaper. The most popular framing technique for canvas art is the floating frame, which features a recessed interior ledge where the stretched canvas sits securely without touching the outer perimeter moulding.
This floating gap—typically spanning a quarter to a half inch around the print—creates a subtle drop shadow that tricks the eye into seeing the canvas as suspended mid-air. Floating frames are particularly forgiving because they do not cover any portion of the front face of your image, unlike traditional glass picture frames whose lip conceals roughly a quarter-inch of the outer graphic margin. They also maintain the tactile three-dimensional depth of the stretched canvas without trapping moisture behind glass.
For traditional interior spaces featuring crown moulding and dark wood furniture, classic solid wood frames with ornate profiles or antiqued metallic finishes can also be adapted to fit deep canvas stretchers. When choosing standard moulding profiles, ensure the frame rabbet—the interior recessed channel—is deep enough to house the thickness of your stretcher bar. A shallow picture frame intended for thin art paper will cause the back of the canvas to protrude awkwardly from the wall.
Preparing Files, Bleeds, and Edge Wrap Treatments
When finalizing your digital file for production, how you handle the outer edges of your composition dictates the final appearance of your wrapped sides. Stretcher bars require anywhere from one to two inches of additional material along all four borders to wrap cleanly around the wooden corners and reach the staples on the back. If you fail to account for this bleed area, critical visual elements like heads, hands, or horizon lines may end up folded over the top or side edges.
Most automated ordering portals offer several edge-wrap styles, including image wrap, mirror wrap, and solid color borders. An image wrap simply pulls the outer perimeter of your original photo over the sides; this method looks seamless but requires generous negative space around your main subject. If your subject sits close to the frame boundary, selecting a mirror wrap reflects the outer inch of your image backward along the sides, creating the illusion of continuous artwork without sacrificing any foreground content.
Solid color edges—such as matte black, neutral grey, or soft white—provide a clean, graphic appearance that works exceptionally well when photographs are framed afterward. For rapid document projects or test proofs, retail customers frequently use local self-service printing kiosks to print inexpensive paper test copies, verifying proper image cropping and contrast balance before committing their files to high-grade canvas runs.
Protecting, Hanging, and Maintaining Canvas Artwork
Unlike paper prints sealed behind protective glass enclosures, canvas artwork is exposed directly to ambient room conditions, requiring sensible placement and routine care. Avoid hanging unvarnished canvas prints in locations subjected to continuous, harsh direct sunlight, as prolonged UV radiation will gradually bleach organic pigment layers over many years. Similarly, high-moisture rooms such as unventilated bathrooms can encourage mildew formation behind the porous cotton backing.
Cleaning your canvas prints requires nothing more than gentle dusting with an untreated microfiber cloth or a soft-bristled artist brush every few months. Never apply household glass cleaners, chemical spray solvents, or wet abrasive sponges to a canvas surface, as liquids can soften protective acrylic varnish coatings and cause pigments to smear. If a spot appears, a lightly damp cloth dabbed gently without scrubbing will safely lift surface dirt.
Securing canvas wall displays requires mounting hardware suited to the weight of the piece and the wall composition. Small prints under five pounds can rest securely on conventional picture hooks driven into drywall, but oversized frames spanning three or four feet should utilize heavy-duty wire systems, French cleats, or anchors screwed directly into wooden wall studs to guarantee the frame remains perfectly level over time.
Locating Reliable Print Services and Inspecting Finished Work
Finding an experienced provider who balances material quality with reasonable pricing involves checking regional facilities against national mail-order vendors. While large online labs provide streamlined order forms, local print shops allow you to physically handle fabric swatches, inspect wood stretcher samples, and review physical color proofs under calibrated gallery lighting. Exploring the independent directory at PrintingAtlas helps you locate vetted print shops and specialty framing studios in your regional area.
When collecting your finished canvas from a local counter or unboxing a delivered parcel, perform a methodical physical inspection before discarding packaging. Examine the four corners of the canvas wrap to verify that the fabric folds are neat, tight, and completely flat, without loose bunches of material protruding from the side profile. The surface face should be drum-tight; gently tapping the center with your fingertip should produce a light, hollow resonance rather than a limp, flapping sound.
Inspect the print under bright, neutral lighting to confirm there are no mechanical roller lines, ink banding marks, or chipped pigment spots along the stretched edges where fabric bends tightly over wood. Ensure that internal wooden stretchers include corner cross-braces if the frame exceeds thirty inches, as seasonal climate shifts can pull unbraced softwood frames out of square. Catching structural defects immediately ensures the print shop can reprint or restretch the piece before installation.
Published 2026-09-20 · reviewed with each rebuild, last September 2026.
Find places to print near you
The directory lists 23,804 places to print by state and city — pick your state or use the “Near me” button in the header.
More guides
-
 Service
Where to Get Passport and Visa Photos Taken: Costs and Specs
-
 Service
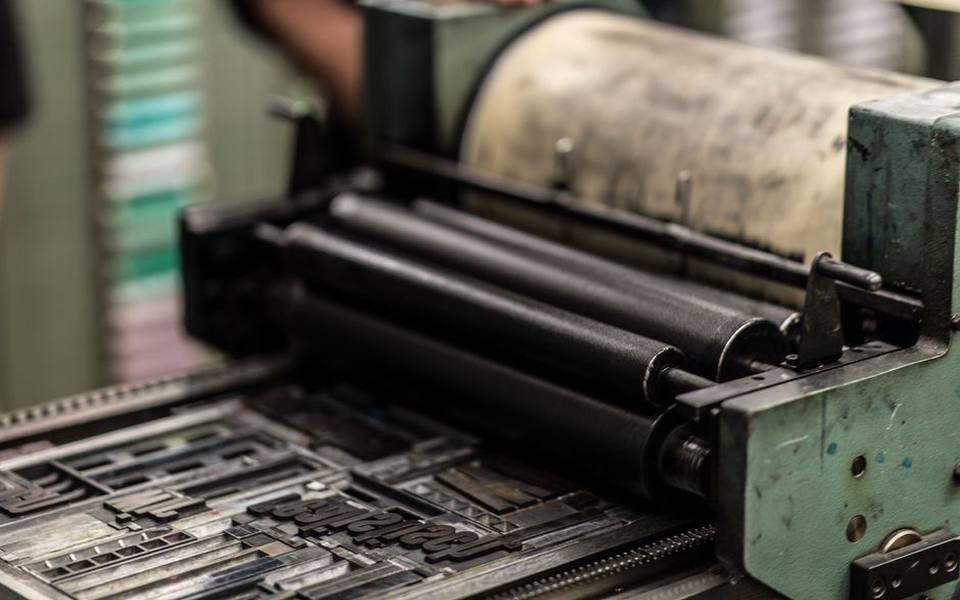
What Collating and Kitting Mean in Commercial Printing
-
 Service
Choosing Where to Print Your Digital Photos: Online Labs vs. Neighborhood Stores
-
 Buying
Standard Business Card Sizes, Stock Thickness, and Printing Costs
-
 Buying
Choosing the Right Custom T-Shirt Printing Method and Understanding Costs
-
 Service
A Practical Guide to Printing Digital Files, Fixing Common Output Errors, and Preparing Custom Media
-
 Buying
Understanding Sticker Cutting Styles: Die Cut, Kiss Cut, and Custom Formats
-
 Buying
How to Order Custom Canvas Prints: Materials, Sizes, and Costs
-
 Buying
Business Card Printing: Design, Templates, Finishes, and Local Vendors
-
 Buying
Custom T-Shirt Printing Guide: Screen Printing, DTG, and Ordering in Bulk
-
 Service
A Guide to Photo Printing, Passport Photos, and Custom Photo Books
-
 Buying
Digital and Physical Gift Cards: Buying, Printing, and Custom Solutions
-
 Buying
Custom Event Invitations: Graduation, Wedding, and Party Announcements
-
 Service
Online Fax Services: Sending and Receiving Digital Faxes Without a Landline
-
 Buying
Custom Embroidered Patches, Clothing Badges, and Hat Embroidery
-
 Service
International Shipping Services: Comparing DHL, USPS, UPS, and FedEx
-
 Service
A Complete Guide to Custom Stickers, Vinyl Decals, and Die-Cut Labels
-
 Buying
Custom Drinkware and Water Bottle Printing Guide
-
 Buying
Custom Rubber Stamps and Self-Inking Stamp Guide
-
 Buying
Guide to Personalized Wrapping Paper and Custom Gift Packaging
-
 Buying
Custom Banners, Table Covers, and Trade Show Displays: Materials, Hardware, and Setup
-
 Service
Custom Apparel, Embroidery, and Patch Production Guide
-
 Buying
Custom Playing Cards and Deck Printing Buying Guide
-
 Service
Custom Greeting and Holiday Card Printing Guide
-
 Owning
Custom Vehicle Magnets and Bumper Stickers: Thickness, Durability, and Finish Guide