Planning the Timeline for Milestones and Celebrations
Ordering custom stationery begins well before ink touches paper. For large milestones like weddings, hosts typically send save the dates six to eight months in advance, giving guests ample time to schedule travel and accommodations. Destination events often demand even greater foresight, with many couples distributing initial notices up to a year early. Establishing your dates early ensures that you have a firm guest list before committing to specific print runs, paper quantities, and mailing budgets.
Formal wedding suites generally follow the initial date reservation, mailing six to ten weeks before the event. This window provides guests with adequate time to reply while keeping the celebration top of mind. For seasonal events such as spring graduations or summer celebrations, starting the layout and design process at least two months prior prevents rush production charges and shipping delays caused by peak seasonal volume across printing facilities.
Building a deliberate buffer into your calendar prevents unnecessary stress. Production turnaround typically ranges from several business days for simple digital output to three weeks for labor-intensive finishes like foil stamping, letterpress, or custom die-cut edges. Factoring in transit times and assembly hours—such as lining envelopes, inserting RSVP cards, and adhering postage—keeps your timeline smooth and manageable.
Choosing Between Formal Wedding Templates and Custom Stationery
Navigating modern stationery options usually comes down to semi-custom layouts versus bespoke illustration. Pre-designed wedding invitations templates provide an efficient starting point, allowing you to select established typography, balanced margins, and classic color palettes while simply substituting your names, venue details, and reception schedules. These files are typically engineered to meet standard print vendor specifications, reducing layout errors and bleed issues.
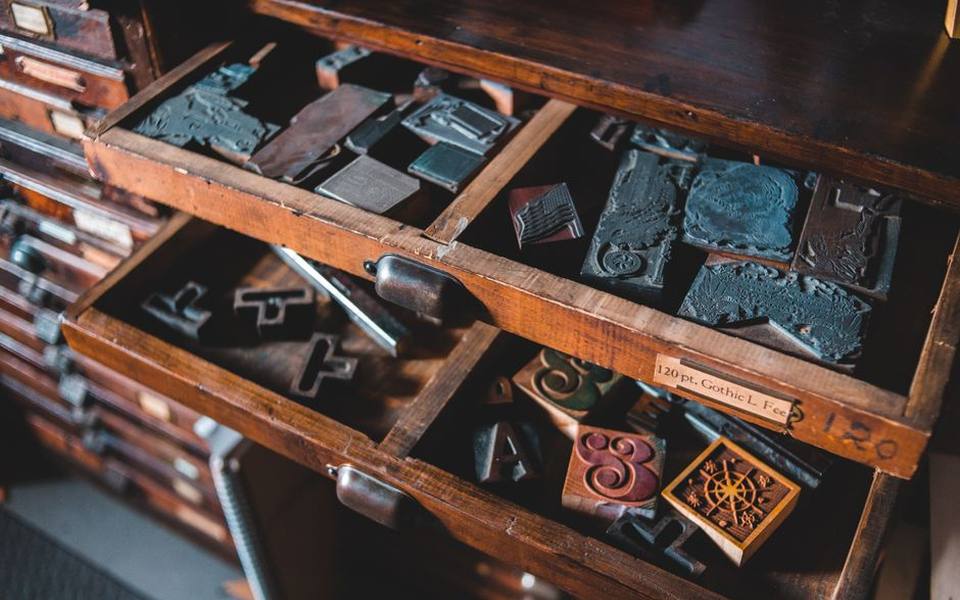
Custom design, by contrast, gives you complete control over every element, from hand-drawn venue sketches and personalized monograms to custom-mixed ink tones. While custom work requires a higher initial investment and longer proofs, it allows for unconventional paper trims, layered vellum wraps, and tailored iconography that reflects your personal aesthetic. Both approaches can yield heirloom-quality results when paired with the right paper stock.
When evaluating digital templates, pay close attention to file flexibility. Premium layouts allow you to export high-resolution PDF assets with embedded fonts and explicit trim lines. Whether ordering through regional suppliers or searching through places to print in California, having print-ready files ensures that text remains crisp and alignments hold true during the mechanical trimming stage.
Welcoming a New Arrival with Personalized Shower Stationery
Baby shower stationery strikes a balance between practical logistics and a celebratory, welcoming tone. Because showers are hosted closer to the arrival date—typically four to eight weeks before the gathering—hosts usually finalize guest lists quickly. Highlighting registry links, host contact numbers, and dietary guidelines directly on the card or an accompanying insert card saves organizers from fielding repetitive questions later.
Selecting baby shower invitations often involves coordinating with a broader nursery theme, seasonal floral palettes, or minimalist modern typography. Matte and textured stocks are particularly well-suited for showers because they convey warmth and photograph cleanly for keepsakes. Double-sided printing allows hosts to place logistical notes, diaper raffle instructions, or book-request rhymes on the reverse side without cluttering the main invitation face.
Turnaround times for baby showers can be tighter than for weddings, making local production an attractive route. Selecting standard A7 or A6 sizes ensures envelopes are readily available off the shelf, even if you need to print a secondary run of invitations to accommodate last-minute guest additions.
Understanding Graduation Notices Versus Ceremony Invites
A common point of confusion when planning academic celebrations is the difference between general notices and seat-specific requests. Academic institutions typically provide a strictly limited number of tickets per student, meaning not every friend or relative can sit in the auditorium. Clarifying this distinction early prevents awkward social situations and ensures recipients understand what their envelope contains.
Formal commencement announcements or graduation notices are sent to celebrate the student's academic accomplishment with extended family, mentors, and colleagues who are not expected to attend the actual ceremony. These cards announce the conferral of the degree, the field of study, and honors achieved. In contrast, a true graduation commencement invitation or specific invites for graduation include logistical details, entry tickets, and specific venue maps for guests invited to watch the procession in person.
When planning your mailing, ordering distinct enclosures solves this dilemma cleanly. You can print an overarching graduation ceremony announcement for everyone on your list, then slip a dedicated ceremony pass or separate reception card inside the envelopes addressed to close family members. This approach keeps print costs lower by using a single core card for both announcements and gathering invitations.
Selecting Graduation Packages and Keepsake Bundles
High schools and universities frequently offer graduation announcement packages through campus bookstores or designated corporate vendors. These bundled offerings typically combine standardized commencement invitations bearing the official school seal with coordinating name cards, formal tissue overlays, thank-you notes, and branded return-address labels. While convenient, university packages can be rigid in layout and may not showcase individual photography.
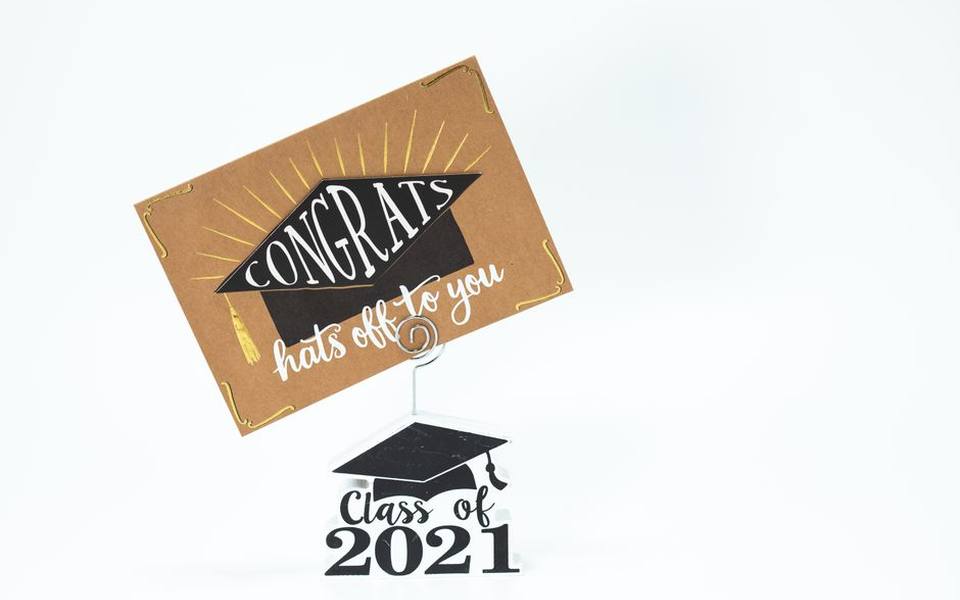
Custom independent printing provides an appealing alternative for grad announcements and grad invites, allowing families to combine formal institutional text with senior portraits, candid campus photos, and future career plans. Independent print packages let you select your own paper weights, foil accents, and matching envelope colors, often at a lower cost per unit than traditional campus suppliers.
If you have physical senior portraits or vintage family photos you want to incorporate into the layout, using professional document scanning ensures high-resolution digital clarity before you begin graphic formatting. Sharp digital scans prevent pixelation when your finished cards are trimmed and packaged.
Paper Stocks, Finishes, and Card Weights
The physical feel of a card communicates quality before a recipient reads a single word. Paper weight is commonly measured in pounds (cover stock) or grams per square meter (GSM). Everyday greeting cards often sit around 80-pound to 100-pound cover (approximately 215 to 270 GSM), while luxury event stationery usually utilizes heavy 120-pound cover or 16-point stock (around 325 to 350 GSM) and higher.
Stock composition also impacts texture and ink absorption. Smooth uncoated cardstock offers clean modern readability, making it ideal for sharp typography and detailed maps. Linen and felt-weave papers add tactile depth that complements traditional celebrations, while 100% cotton rag stock provides an ultra-soft, archival finish that pairs exceptionally well with blind debossing, letterpress, or edge painting.
Finishing techniques like metallic foil stamping, raised spot UV gloss, and soft-touch velvet laminations can transform simple graphics into tactile keepsakes. Keep in mind that heavy coatings may prevent handwriting on the card surface, so ensure RSVP response areas and personal message spaces remain uncoated for easy ink writing.
Envelope Sizing, Liners, and Mailing Standards
Stationery sizing directly dictates postage costs, envelope handling, and mailing ease. The most common standard formats for invitations are A7 (5.25 by 7.25 inches, fitting a 5 by 7 card) and A6 (4.75 by 6.5 inches, fitting a 4.5 by 6.25 card). Response cards typically utilize A2 envelopes (4.375 by 5.75 inches), which conform to the minimum sizing requirements established by the United States Postal Service.
Square envelopes, oversized formats, and packages weighing over one ounce require non-machinable surcharges from postal carriers. Square mailers cannot pass through automated high-speed sorting rollers and must be canceled by hand, resulting in higher postage rates and potential delivery delays. If keeping mailing costs predictable is a priority, stick to standard rectangular A-style dimensions.
Addressing methods also influence overall presentation. While hand calligraphy offers timeless grace, digital variable-data printing allows print shops to output matching recipient addresses directly onto envelopes using your master spreadsheet. Adding custom envelope liners provides an extra pop of color and stiffens the envelope against bending during mail transit.
Proofing, Color Modes, and File Preparation
Flawless prints depend on precise prepress file setup. Computer monitors display visuals in RGB color (additive light), whereas printing presses reproduce designs using CMYK ink cartridges (subtractive color). Converting your artwork to CMYK before finalizing your files helps you catch unexpected shifts in saturation, particularly with vibrant greens, deep navy blues, and subtle pastels.
Bleed and safety margins are critical technical parameters. A bleed is an extra border—typically an eighth of an inch (0.125 inches) extending beyond the final trim line—where your background colors or patterns continue. This margin guarantees that minor shifts in commercial cutting blades do not leave thin white edges around your cards. Simultaneously, keep all critical text at least 0.25 inches inside the trim edge.
Always proofread your text three times: once for spelling, once for addresses and dates, and once specifically for days of the week matching calendar dates. Having a fresh pair of eyes review the proof prevents costly reprints caused by swapped digits, transposed phone numbers, or misspelled family names.
Deciding Between Production Methods and Print Providers
Choosing where to produce your stationery depends on your budget, turnaround requirements, and aesthetic goals. Commercial digital presses offer fast turnarounds, accurate registration, and cost-effective pricing for short runs under two hundred copies. For larger orders requiring specialized inks, offset lithography produces exceptionally consistent color across thousands of sheets.
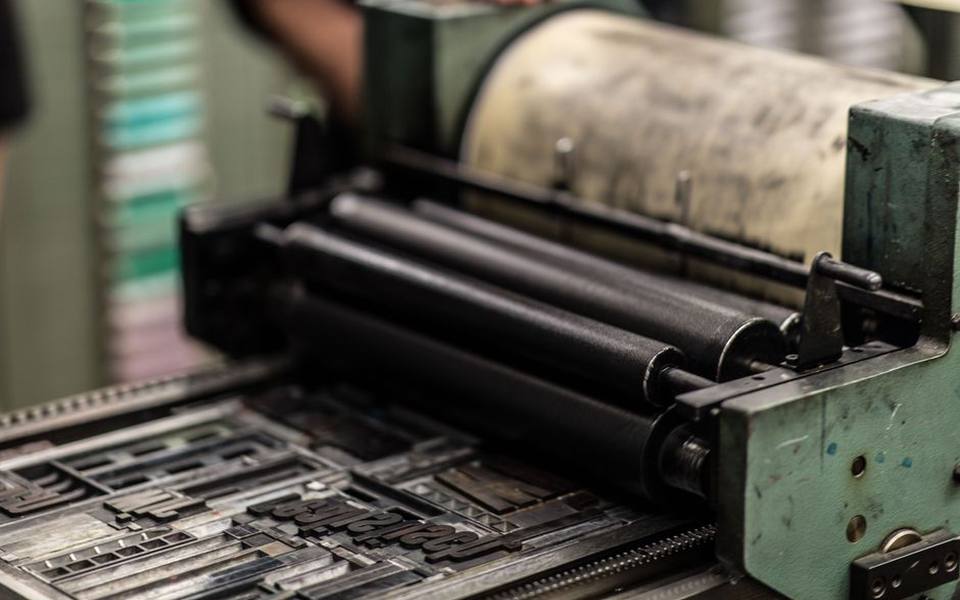
If you are facing a strict deadline or simply need to produce simple collateral cards, self-service printing centers provide an accessible pathway to print and trim inserts on demand. Local shops throughout regional hubs like places to print in Texas offer hands-on counter service, where you can feel physical stock weights and evaluate test proofs before running an entire suite.
Specialty artisanal methods like letterpress and hot foil stamping require custom metal dies and manual press setups. While these techniques carry higher setup fees, their distinctive tactile impressions cannot be replicated by digital flat toner. Evaluate whether your event warrants artisanal presswork or whether a heavy matte digital cardstock achieves your desired visual impact.
Budgeting Quantities and Managing Re-Orders
One of the most frequent miscalculations in stationery ordering is confusing the total guest count with the household count. Coupes, families, and roommates living under the same roof require only one invitation per address. Ordering based on total individual heads often leads to paying for twice as many cards and envelopes as actually needed.
After calculating your address list, add an overage buffer of 10% to 15%. These surplus copies account for addressing mistakes, unexpected additions to the guest list, postal loss, and keepsake copies for parents and scrapbooks. Setting up a small re-run later often costs significantly more per unit than including a modest buffer in your initial production order.
Keep your final digital design files organized in an easily accessible folder. If you discover a week before the event that several table numbers, place cards, or day-of signage elements are needed, having your font files, color codes, and vector layouts ready allows your printer to produce matching items without delay.
Published 2026-09-20 · reviewed with each rebuild, last September 2026.
Find places to print near you
The directory lists 23,804 places to print by state and city — pick your state or use the “Near me” button in the header.
More guides
-
 Service
Where to Get Passport and Visa Photos Taken: Costs and Specs
-
 Service
What Collating and Kitting Mean in Commercial Printing
-
 Service
Choosing Where to Print Your Digital Photos: Online Labs vs. Neighborhood Stores
-
 Buying
Standard Business Card Sizes, Stock Thickness, and Printing Costs
-
 Buying
Choosing the Right Custom T-Shirt Printing Method and Understanding Costs
-
 Service
A Practical Guide to Printing Digital Files, Fixing Common Output Errors, and Preparing Custom Media
-
 Buying
Understanding Sticker Cutting Styles: Die Cut, Kiss Cut, and Custom Formats
-
 Buying
How to Order Custom Canvas Prints: Materials, Sizes, and Costs
-
 Buying
Business Card Printing: Design, Templates, Finishes, and Local Vendors
-
 Buying
Custom T-Shirt Printing Guide: Screen Printing, DTG, and Ordering in Bulk
-
 Service
A Guide to Photo Printing, Passport Photos, and Custom Photo Books
-
 Buying
Digital and Physical Gift Cards: Buying, Printing, and Custom Solutions
-
 Buying
Custom Canvas Prints: Framing Options, Wall Art Sizes, and Collage Design
-
 Service
Online Fax Services: Sending and Receiving Digital Faxes Without a Landline
-
 Buying
Custom Embroidered Patches, Clothing Badges, and Hat Embroidery
-
 Service
International Shipping Services: Comparing DHL, USPS, UPS, and FedEx
-
 Service
A Complete Guide to Custom Stickers, Vinyl Decals, and Die-Cut Labels
-
 Buying
Custom Drinkware and Water Bottle Printing Guide
-
 Buying
Custom Rubber Stamps and Self-Inking Stamp Guide
-
 Buying
Guide to Personalized Wrapping Paper and Custom Gift Packaging
-
 Buying
Custom Banners, Table Covers, and Trade Show Displays: Materials, Hardware, and Setup
-
 Service
Custom Apparel, Embroidery, and Patch Production Guide
-
 Buying
Custom Playing Cards and Deck Printing Buying Guide
-
 Service
Custom Greeting and Holiday Card Printing Guide
-
 Owning
Custom Vehicle Magnets and Bumper Stickers: Thickness, Durability, and Finish Guide